How to Prepare for Your New Resin Driveway Installation
Proper preparation is one of the most important steps in the resin driveway installation process. The success of your driveway depends on ensuring that the base surface is clean, level, and ready to bond with the resin. Here’s how to prepare for a flawless installation:
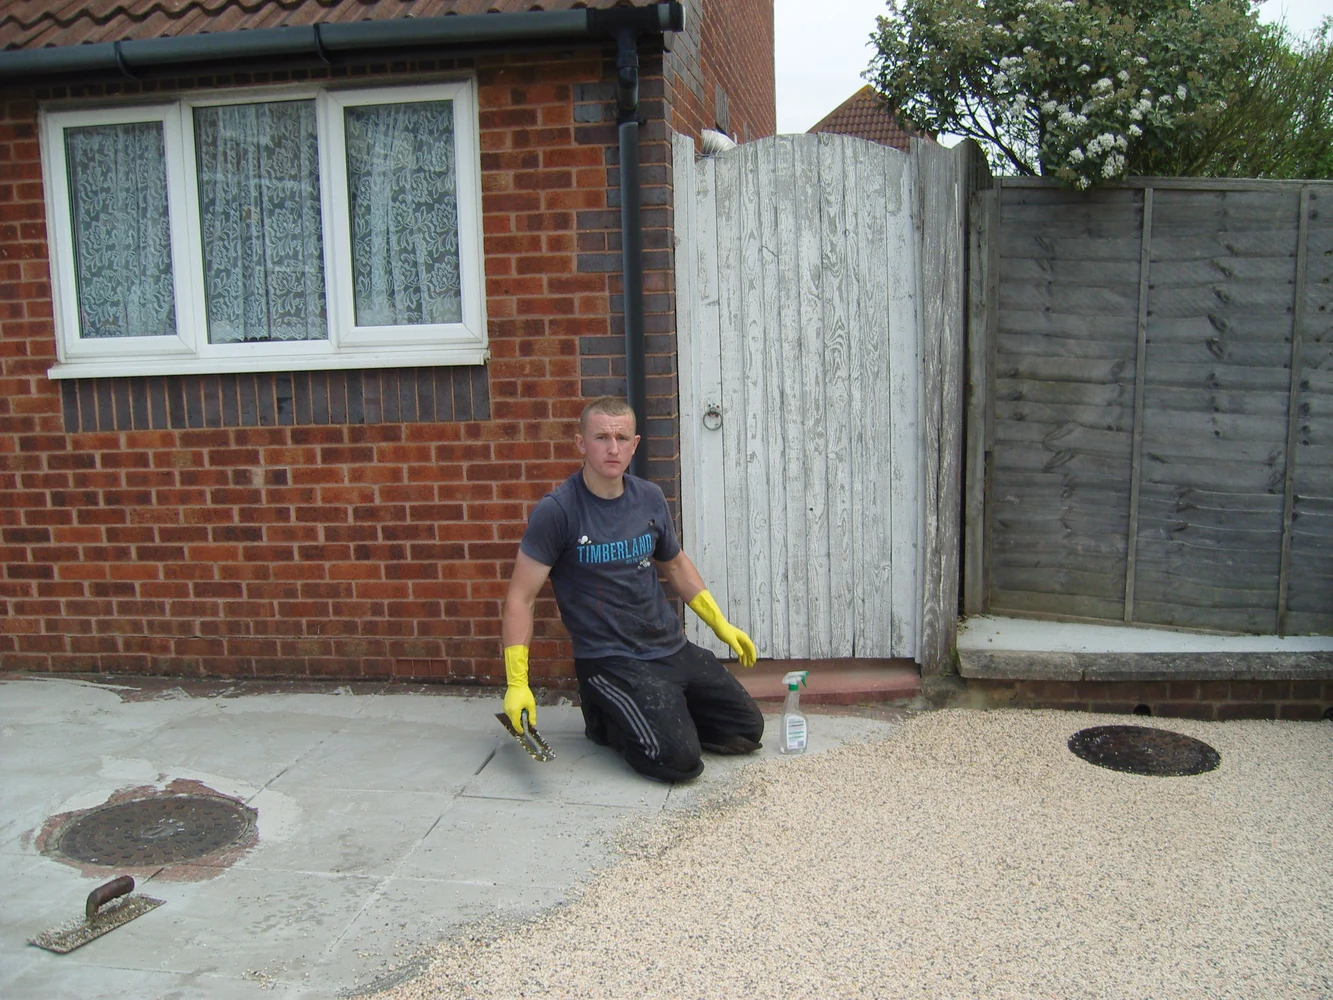
1. Surface Cleaning
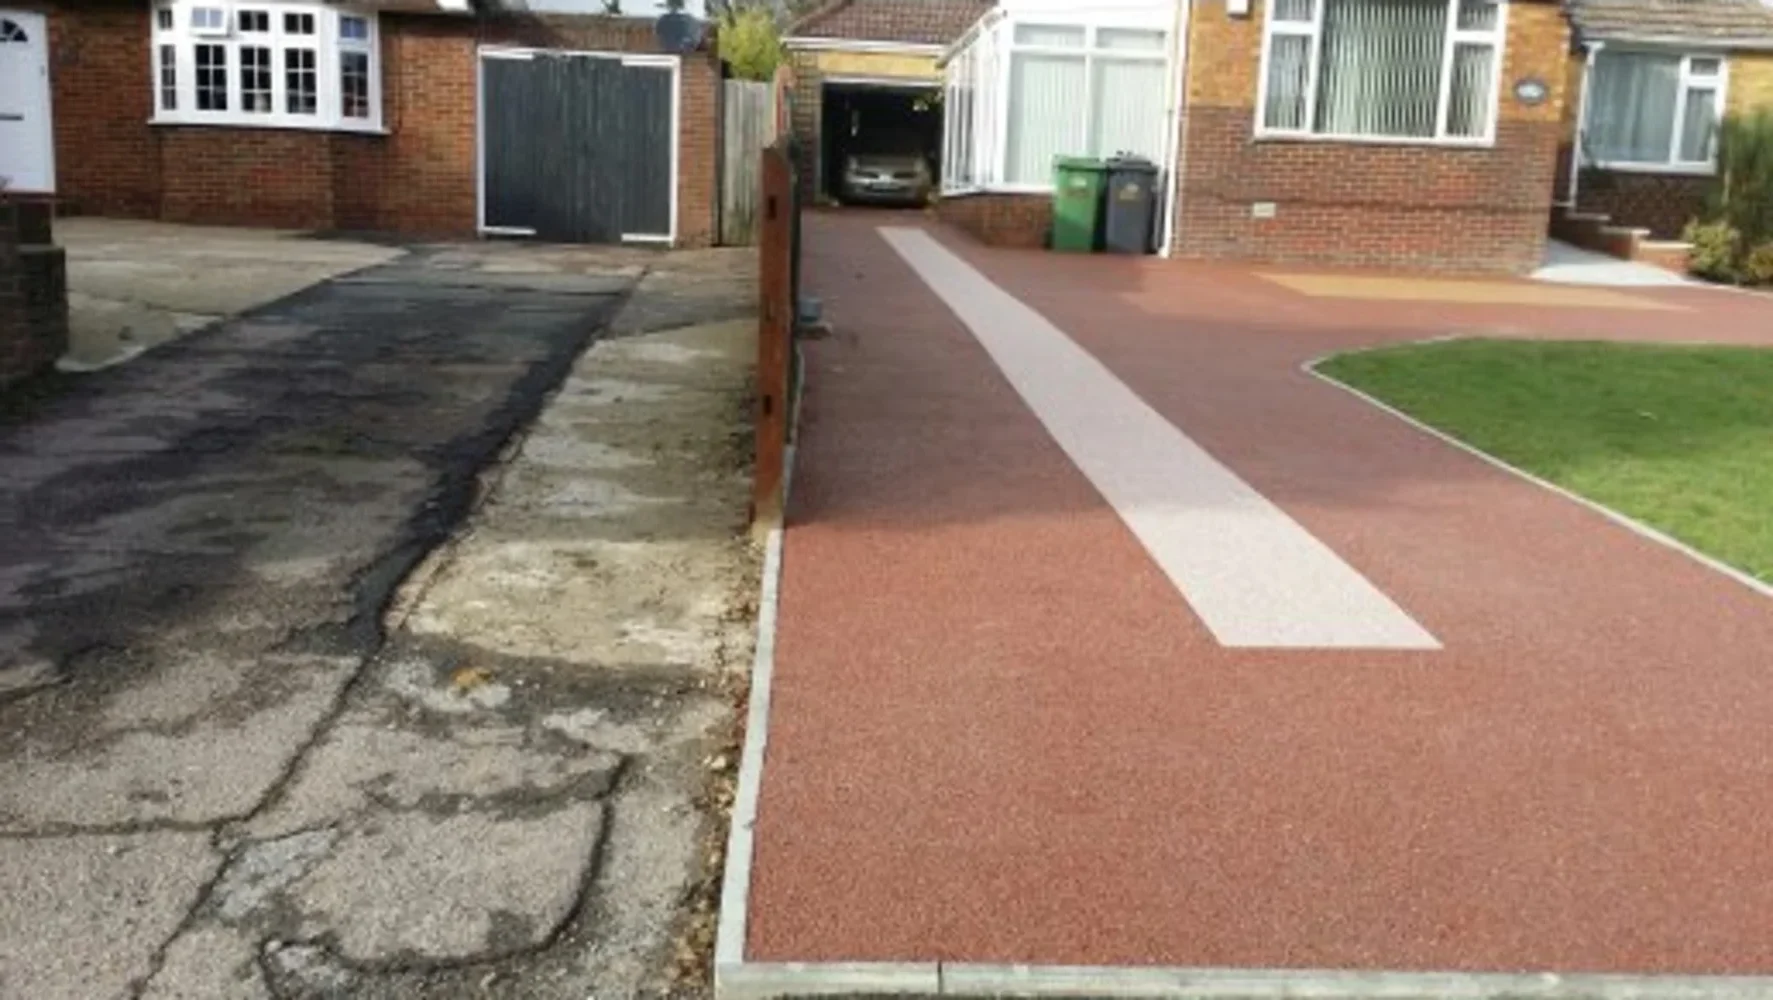
The first step in preparing for a resin driveway installation is to clean the existing surface thoroughly. Whether you’re applying resin over concrete, tarmac, or another material, you must remove any dirt, debris, moss, or oil stains. A pressure washer can be used to clean the surface effectively. After washing, ensure that the surface is completely dry before continuing with the installation process.
2. Surface Leveling
If the existing surface is uneven, it will need to be leveled before the resin is applied. Uneven surfaces can cause the resin to be applied unevenly, resulting in a poor finish. Use a leveling compound or appropriate filler to fill in any cracks or holes. If you’re working with a tarmac or concrete surface, ensure that it’s fully cured before applying the resin mix.
3. Drainage Considerations
Proper drainage is crucial to prevent water from pooling on the surface of your driveway. Ensure that the sub-base is correctly graded to allow for water to flow away from the surface. You may need to install drainage channels, soakaways, or permeable systems to comply with SuDS regulations.
4. Priming the Surface
Once the surface is clean and level, apply a primer to ensure proper adhesion between the surface and the resin. The primer should be selected based on the type of base you are using, whether it is concrete, tarmac, or an existing resin surface. The primer helps enhance the bond and ensures the resin adheres correctly to the surface.
5. Dry Curing for New Bases
If you’re installing a resin driveway over a new tarmac or concrete base, make sure that the base has fully cured before applying the resin. For tarmac, allow at least 14 days for it to cure, while concrete should cure for a minimum of 7 days.
Final Thoughts
Proper preparation is essential to ensure a successful resin driveway installation. Clean the surface, level it, ensure proper drainage, and apply a suitable primer. By following these steps, you can ensure that your resin driveway is durable, functional, and aesthetically pleasing.
By implementing these best practices, your resin driveway installation will be set up for success. Preparing your materials, base surface, and installation process effectively will guarantee a long-lasting, beautiful result.