How to Speed Up Resin Driveway Curing Times: Expert Tips
Accelerating the curing process of a resin driveway is essential for timely completion and optimal performance. While resin-bound surfaces typically require 24 to 48 hours to fully cure, several strategies can expedite this process without compromising the quality of the installation.
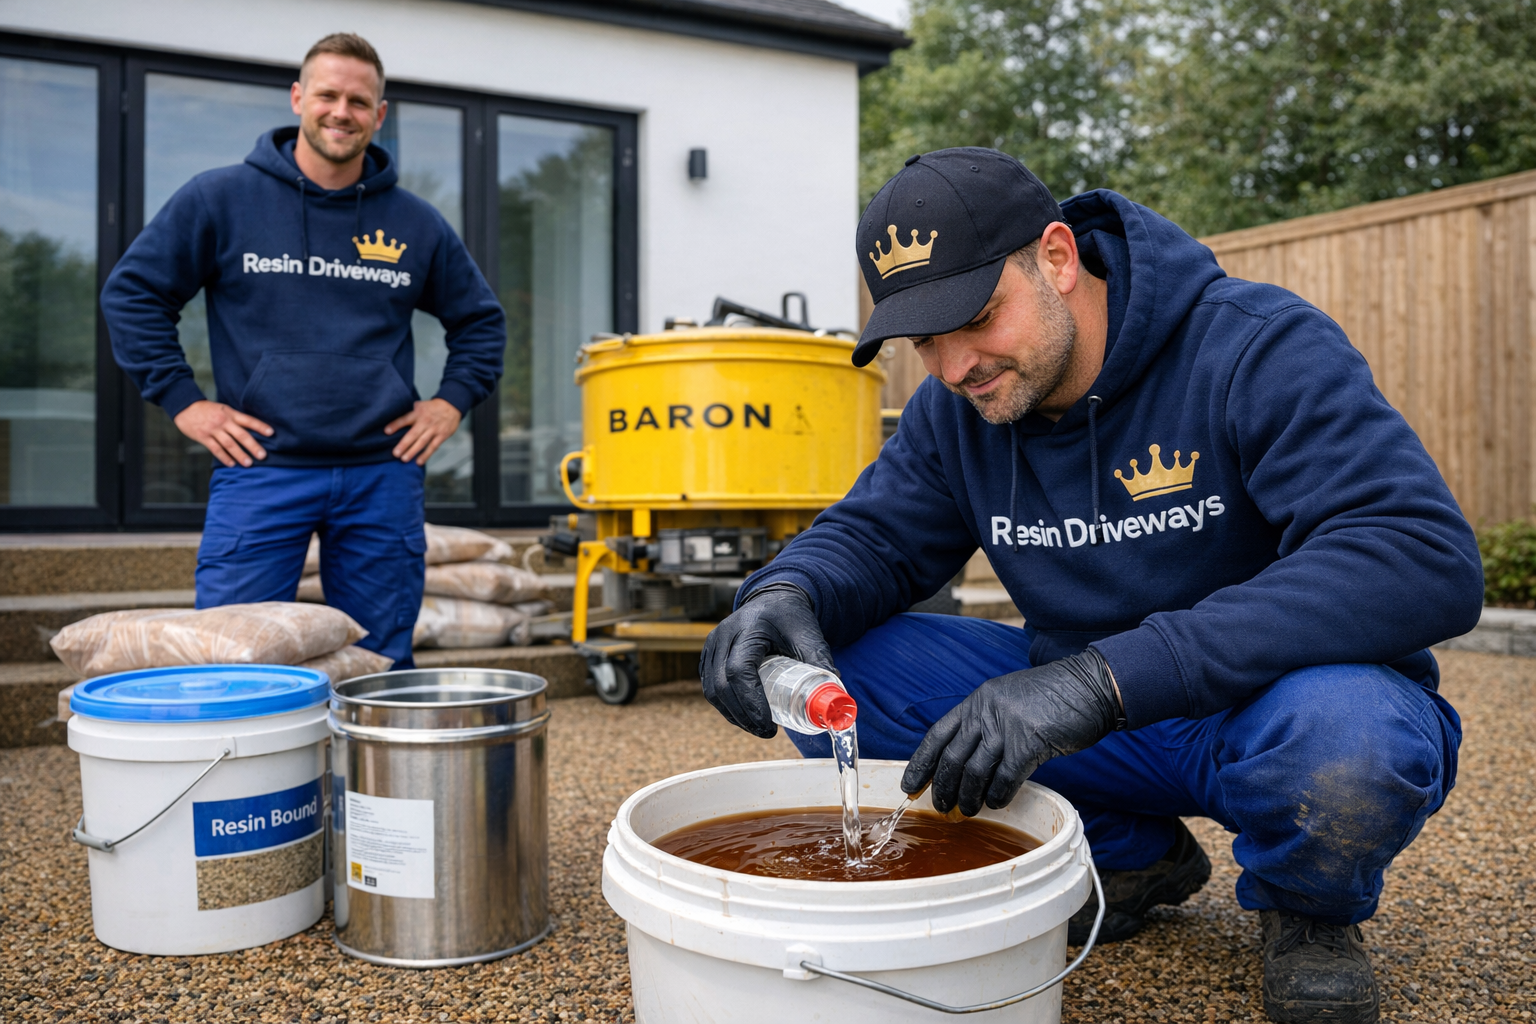
1. Utilize a Resin Accelerator (Catalyst)
Incorporating a resin accelerator, also known as a catalyst, can significantly reduce curing times. These additives speed up the chemical reaction between the resin and hardener, facilitating a quicker set. For instance, at temperatures around 10°C, adding approximately 30 ml of catalyst per 6.5 kg of resin can help achieve standard curing times.
Important Considerations:
- Manufacturer Compatibility: Always use a catalyst recommended by the resin manufacturer to ensure compatibility and avoid adverse reactions.
- Precise Measurement: Accurately measure the catalyst to maintain the correct resin-to-hardener ratio, as deviations can affect the curing process.
- Avoid Overuse: Excessive catalyst can lead to surface imperfections or reduced strength.
2. Increase Ambient Temperature
Raising the ambient temperature can accelerate the curing process. For every 10°C increase in temperature, the curing time can be halved. However, it’s crucial to maintain temperatures within the resin’s specified range to prevent issues like bubbling or cracking.
- Space Heaters: Use electric space heaters to warm the installation area in enclosed spaces.
- Heat Lamps: Position heat lamps above the surface to provide consistent warmth.
- Avoid Direct Contact: Ensure heat sources do not come into direct contact with the resin to prevent overheating.
3. Pre-Warm Resin Components
Warming the resin and hardener components before mixing can reduce viscosity, leading to better mixing and a more efficient curing process. Place the sealed containers in warm (not boiling) water for 5 to 10 minutes prior to use.
Safety Precautions: Ensure containers are tightly sealed to prevent water ingress, and dry the containers thoroughly before opening to avoid contamination.
4. Apply Resin in Thinner Layers
Applying resin in thinner layers allows heat to dissipate more effectively, reducing the risk of overheating and ensuring a more uniform cure. Thicker layers can trap heat, slowing down the curing process and potentially causing defects.
5. Maintain Optimal Humidity Levels
High humidity can interfere with the curing process, leading to issues like cloudiness or tackiness. Maintain humidity levels between 30% and 85% to ensure proper curing.
- Dehumidifiers: Use dehumidifiers in enclosed spaces to reduce moisture levels.
- Air Circulation: Ensure adequate ventilation to promote airflow and moisture evaporation.
6. Avoid Direct Sunlight
While sunlight can provide warmth, direct exposure can cause uneven curing and surface imperfections. It’s advisable to avoid laying resin-bound surfaces during peak sunlight hours or to provide shade during the curing process.
7. Implement a Curing Box
For smaller projects, a curing box can maintain a controlled environment, ensuring consistent temperature and humidity levels. This setup helps in achieving a uniform cure and protects the surface from contaminants.
Conclusion
By implementing these strategies—using a resin accelerator, increasing ambient temperature, pre-warming components, applying thinner layers, controlling humidity, avoiding direct sunlight, and utilizing a curing box—you can effectively speed up the curing process of your resin driveway. Always adhere to the manufacturer’s guidelines and safety precautions to ensure a durable and high-quality finish.