Resin Bound DIY Kits: A Comprehensive Guide for Homeowners
Introduction
Resin-bound driveways have gained popularity among homeowners seeking a durable, aesthetically pleasing, and low-maintenance solution for their outdoor spaces. One of the most convenient ways to achieve this is through Resin Bound DIY Kits. These kits offer an accessible entry point for DIY enthusiasts to create professional-quality surfaces without the need for specialized equipment or extensive experience. This guide delves into the components, benefits, installation process, and considerations of Resin Bound DIY Kits.
What Are Resin Bound DIY Kits?
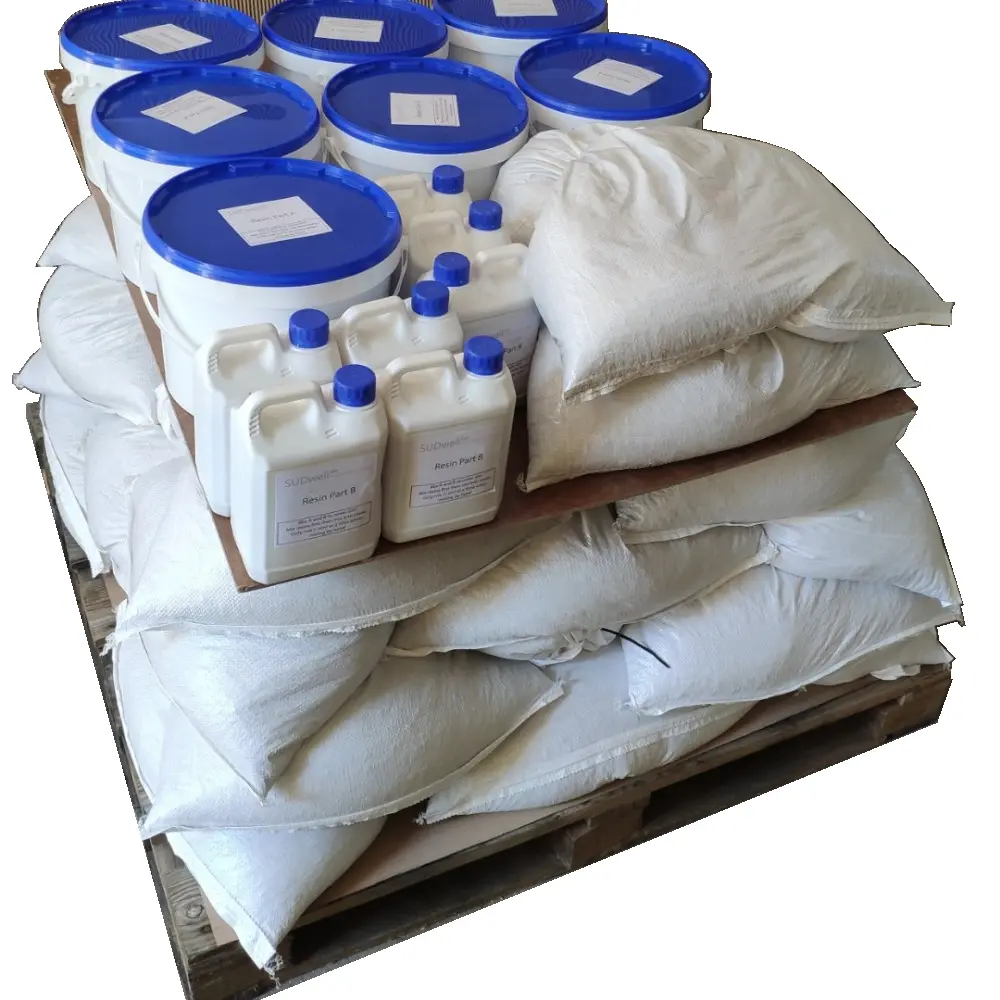
Resin Bound DIY Kits are pre-packaged sets that contain all the necessary materials to create a resin-bound surface. Typically, a kit includes:
- Resin Binder: A clear, UV-stable resin that binds the aggregates together.
- Activator: A hardener that, when mixed with the resin binder, initiates the curing process.
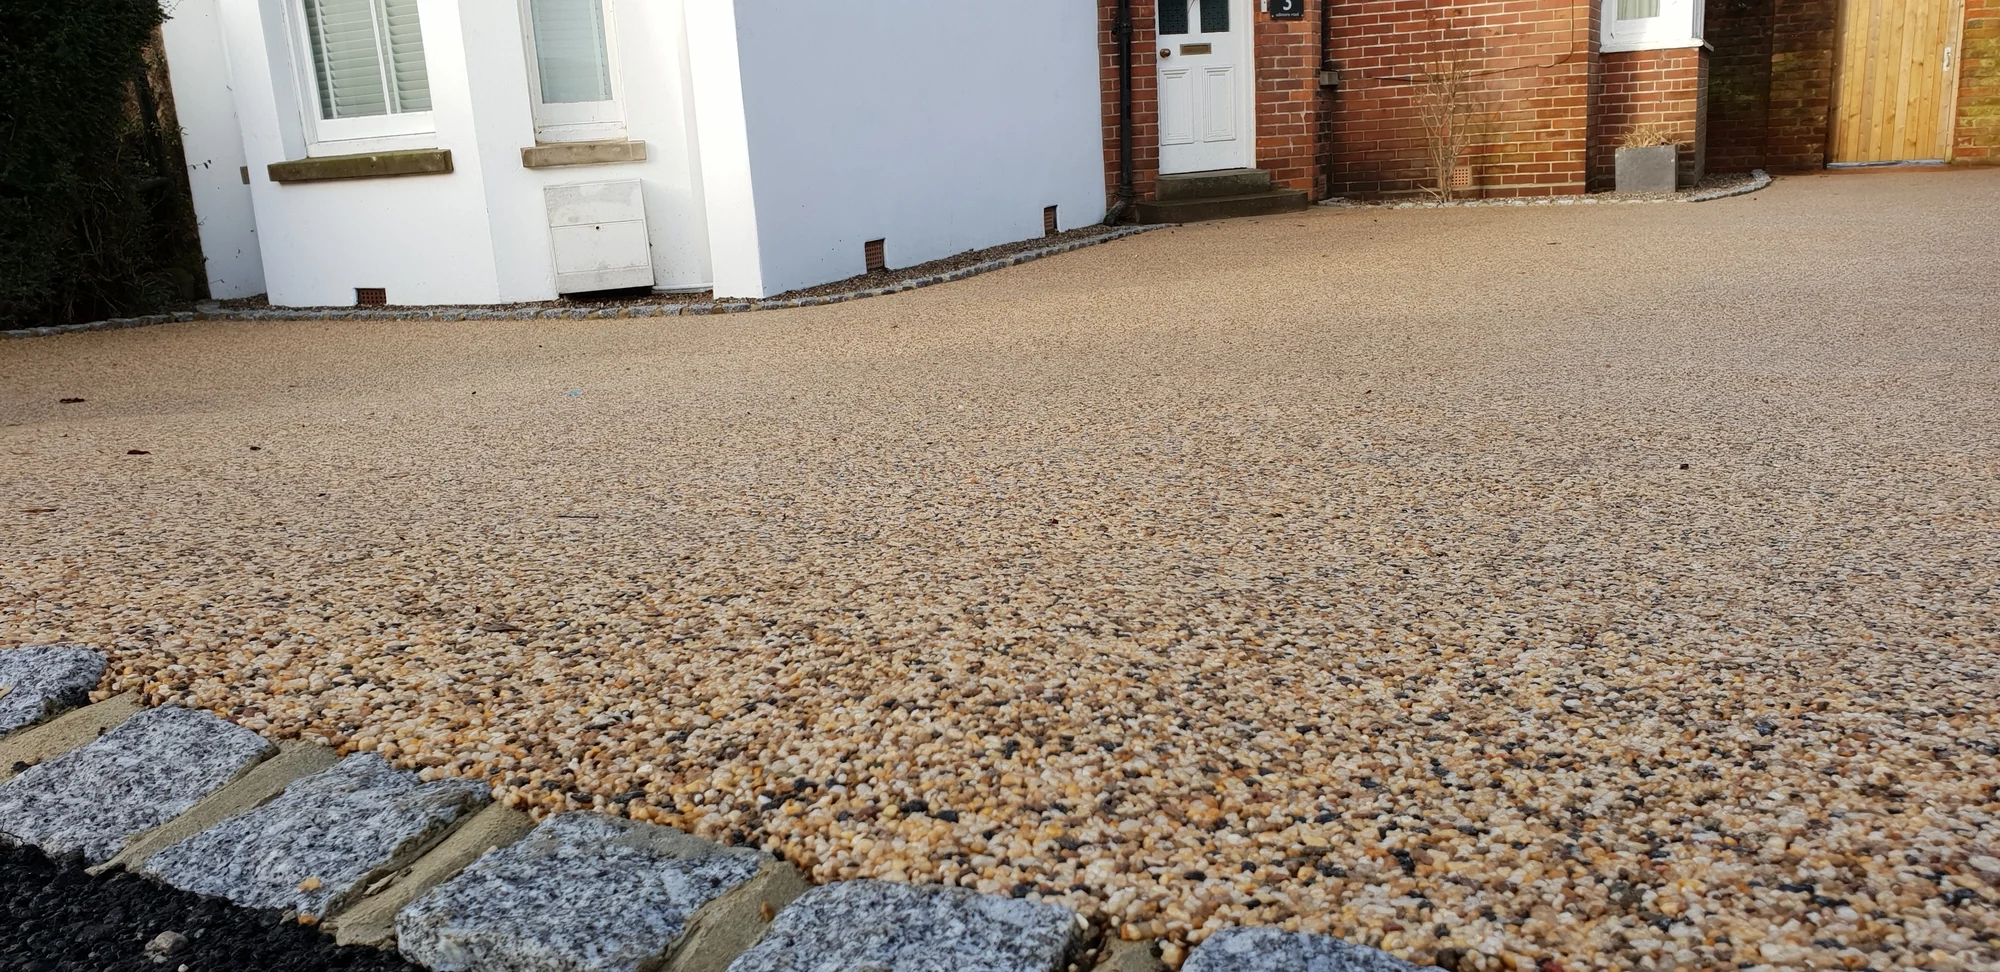
- Decorative Aggregates: Dried, UV-stable aggregates such as gravel or crushed stone, which provide the surface’s texture and appearance.
- Instruction Manual: Step-by-step guidance to ensure proper mixing, application, and finishing.
These kits are designed to simplify the installation process, making it feasible for homeowners to undertake the project themselves.
Benefits of Using Resin Bound DIY Kits
- Cost-Effective: Opting for a DIY approach can significantly reduce labor costs associated with professional installation.
- Customization: With a wide range of aggregate colors and finishes available, homeowners can tailor the appearance to suit their preferences.
- Permeability: Resin-bound surfaces are permeable, allowing water to drain through, which helps in managing surface water runoff and complies with Sustainable Urban Drainage Systems (SuDS) regulations.
- Durability: When installed correctly, resin-bound surfaces are robust, resistant to cracking, and require minimal maintenance.
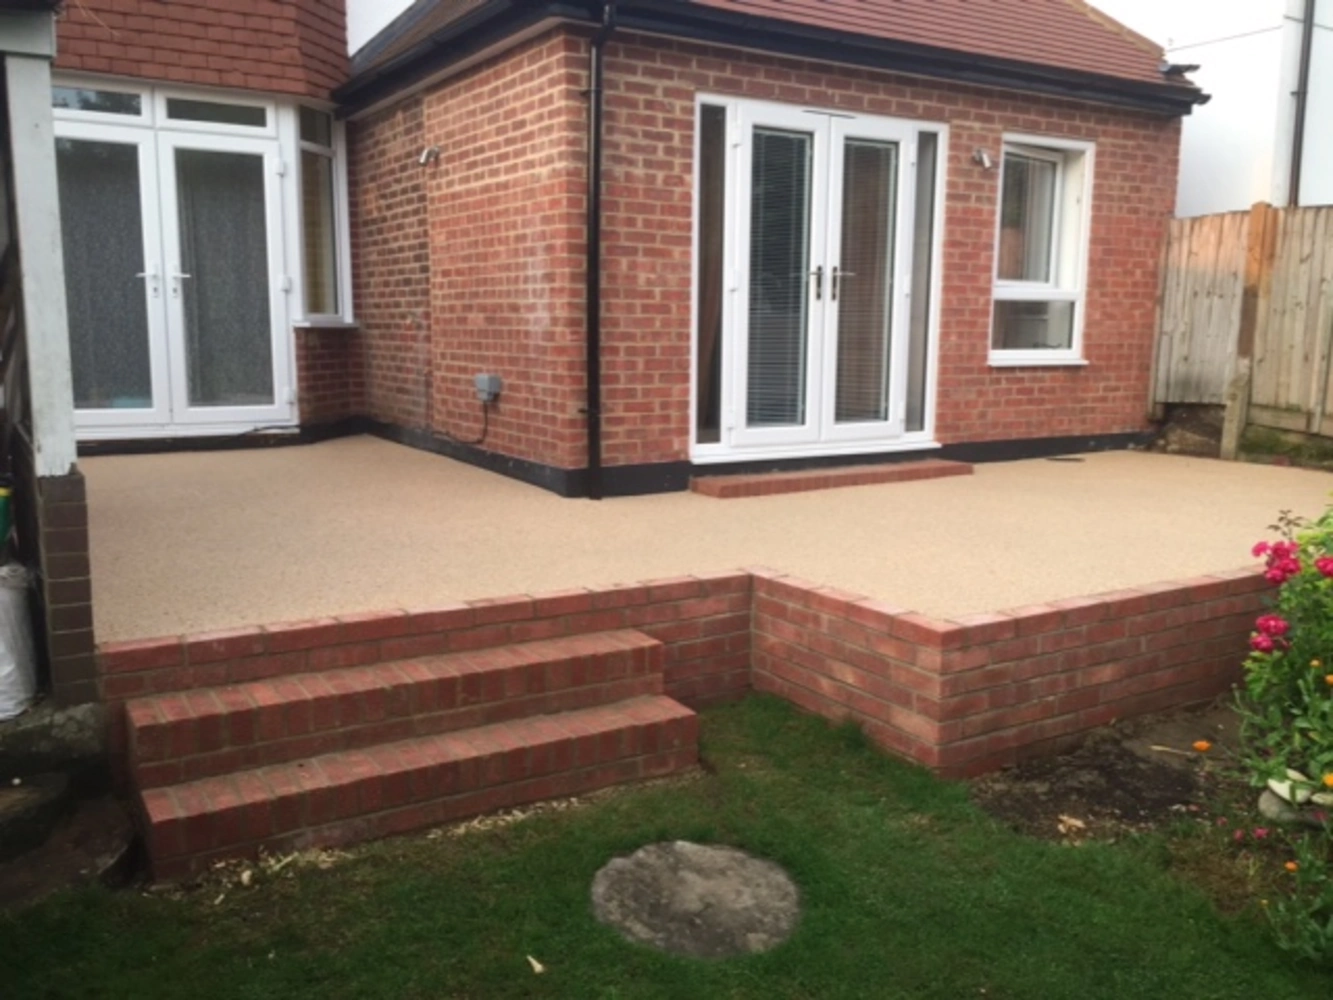
- Aesthetic Appeal: The smooth, seamless finish of resin-bound surfaces enhances the curb appeal of any property.
Installation Process
Installing a resin-bound surface using a DIY kit involves several key steps:
- Preparation: Ensure the base is clean, stable, and free from debris. For existing concrete or tarmac surfaces, repair any cracks or damage before proceeding.
- Mixing: Combine the resin binder and activator as per the manufacturer’s instructions. Then, add the decorative aggregates and mix thoroughly until all particles are evenly coated.
- Application: Pour the mixed material onto the prepared base and spread evenly using a trowel or squeegee. Aim for a consistent thickness, typically between 15mm and 18mm.
- Finishing: Smooth the surface to eliminate any trowel marks and ensure an even finish.
- Curing: Allow the surface to cure as per the manufacturer’s guidelines, usually 24 to 48 hours, before allowing foot or vehicle traffic.
Considerations and Tips
- Weather Conditions: Avoid installation during adverse weather conditions, such as rain or extreme temperatures, as these can affect the curing process and the final finish.
- Tools Required: Ensure you have the necessary tools, including a drill with a mixing paddle, trowel, and protective gear.
- Surface Compatibility: Resin-bound surfaces are suitable for various substrates, including concrete, tarmac, and compacted gravel. However, ensure the base is stable and free from movement.
- Health and Safety: Always wear appropriate protective equipment, such as gloves and safety goggles, when handling resin and aggregates.
Conclusion
Resin Bound DIY Kits offer homeowners an opportunity to enhance their outdoor spaces with a durable, aesthetically pleasing, and low-maintenance surface. By understanding the components, benefits, installation process, and considerations, DIY enthusiasts can successfully undertake the project and achieve professional-quality results. Always follow the manufacturer’s instructions and guidelines to ensure the best possible outcome.
Note: For a visual guide on installing a resin-bound surface using a DIY kit, consider watching the following tutorial: